One way to get on buses and subways in Japan is tapping a small plastic card called a Suica IC Card onto the ticket barriers to pay for your fare – but, now you can also add a digital Suica to your iPhone or Apple Watch – but why might that be a good idea, and how do you do it? Here’s my (easy) guide…
Quick Version
If you’re vaguely technical, and don’t need long instructions, or screenshots, to help you through the process, here’s how to add the card to your phone – if anything doesn’t work though do read on as the reason might be below. And you might just want to check out the FAQs to clear up any extra questions.
Make sure you have up today IOS (essential if you want to use Visa)
Open Apple Wallet, hit the plus sign
Select Transit Card and scroll down until you see Suica. Add that.
Scan your credit card
Add money via the keypad on the next screen. This doesn’t always work outside of Japan. In Japan it won’t work in the middle of the night.
Make sure Express Mode is on and Suica is set to default card which will allow you to pass quickly through the barrier
More Advice for The Less Technical
If you need a little bit more detail than that though, here’s the longer version which explains why you might need a digital Suica, how to do the above with a few helpful pictures, and the answers to a few other questions.
So, here’s what you need to know…

Article by Helen Foster. Disclosure: Some links in this post are affiliate links. See our Affiliate Disclosure.
Why Use Digital Suica?
I’m not normally a pay-by-phone person. I get on the bus/train with my plastic travel card, tap that on, then tap it off when I get off – and usually do the same in Japan, but, by the end of my recent trip, even I decided that a digital Suica (or another brand of IC Card) might be the way to go in the future. And there are a couple of reasons why…
No Queues
There’s a lot of things to do when you arrive in Japan, and a lot of queues to stand in. Trying to buy a Suica card, Welcome Suica card,or even a train ticket adds another one.
With a Suica on your phone though, you don’t have this issue – download it before your trip, fill it with cash (more of that in a minute) and you’re onto the train before everyone else has even pushed the ‘English’ button on the ticket machine.
Thanks to having mine set up I was on the train to my hotel about 5 minutes after leaving customs which made me feel very proud of myself – and kind of smug!
RELATED READ: If you’re not really sure how Suica works, read our easy Suica guide next.
It’s Easier to Refill on the Move
As we explained in our piece on where you need cash in Japan, the physical IC cards have a strange quirk – you can only fill them with cash at a ticket machine.
This is fine when you’re using trains as machines are in the stations, but not so fine when you’re standing at a bus stop and realize you haven’t quite got enough on your plastic card for the fare. A digital Suica can be topped up there and then.
It’s Just Easier
As I said, I am not normally a convert to such things, but, after the bus stop experience and yet another journey trying to juggle my plastic Suica card, my phone, an umbrella, and my bag as I headed out of the ticket gates even I could see a benefit of using my phone to tap out.
After all, it’s always in my hand in Japan as I use maps to try and work out what gate I need to exit!
5 Things Before We Go Any Further
Before you waste time you don’t have reading this post if it’s not relevant to you, there are a few things you need to know …
You Do Need an iPhone
The headline of this piece is not generic. You can only (at the time of writing) add a digital Suica card to an iPhone or an Android phone sold in Japan. An Android from elsewhere won’t work.
You Need Newer Tech
If it’s a foreign phone, it needs to be iPhone 8 or above. And an Apple Watch 3 or above. It also says it needs the latest IOS so, if it doesn’t work, try updating your IOS.

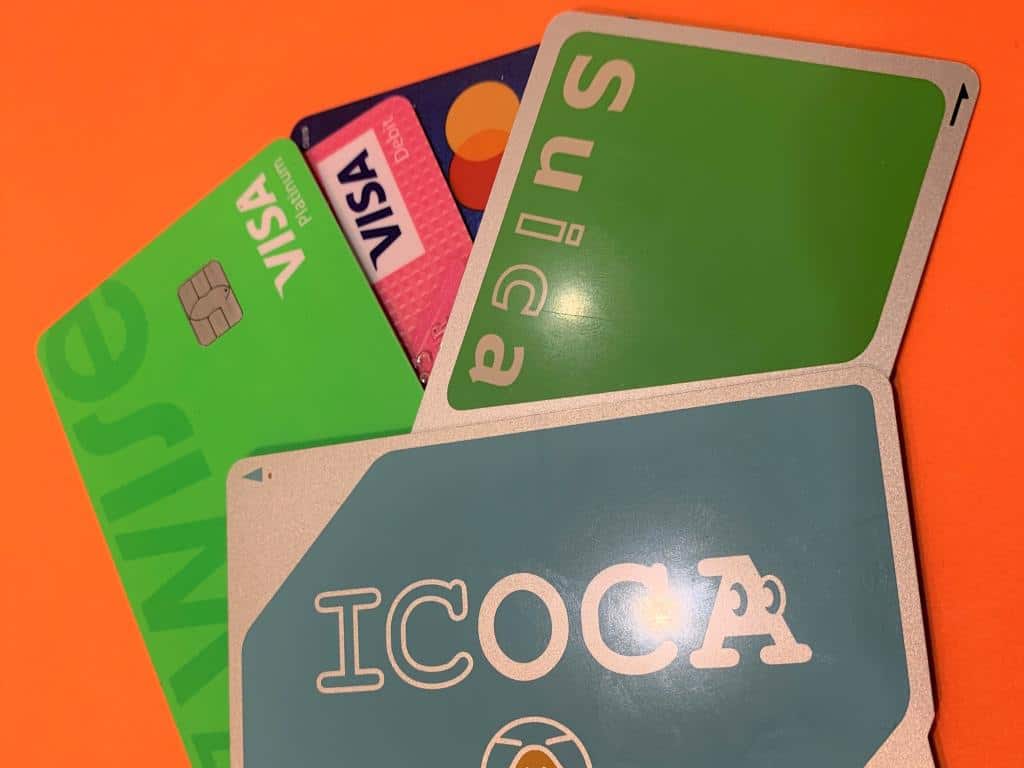
Other IC Cards are Available
I’m saying Suica, but you can add a PASMO and ICOCA card too. I just like Suica because it has a penguin logo! It’s also the brand most tourists seem to be aware of.
It Does Now Work With Visa
When I first wrote this post, only Mastercard and AMEX worked to do this – but (although I haven’t personally tried this yet), if you have the latest IOS, you can now use a Visa Card.
You can also top digital Suica up with cash at stations and in convenience stores.
Enable Two-Factor Authentication
According to Apple, you have to have two-factor authentication set up on your device to link your Suica to Apple Wallet.
Right, with all of that out of the way, here’s how to get the thing onto your iPhone.
How to Load a Digital Suica to Your iPhone
It’s best to do this once you arrive in Japan as there are a few steps you may not be able to complete until you’re there. In Australia at least, you can practice it beforehand, but you might fail at the last step – and then have to do it all again anyway (been there, done that).
Step One. Do Not Download the Suica App!
It’s the first mistake everyone makes. I did it too.
The Suica app is in Japanese and while it does have some extra capabilities, like allowing you to buy Shinkansen tickets, it’s not needed for most tourists.
Instead, what you do is…
Step Two. Open Your Apple Wallet
Click on the icon and open your wallet – that bottom left one is what you’re looking for above if you don’t normally use it. Now press the plus sign to add a new card to the device.
Step Three. Select Transit Card
At this point, the screen will change and you’ll see an option with a green icon that says ‘Select Transit Card’ – push the little grey arrow to the right of this.
You’ll now get a list of the world’s transit cards – which makes for fun reading, but, if time is short, either type Suica in the search bar, or scan down to Japan and select Suica – or your other card of choice.
Press Continue
Step Four. Scan Your Payment Card
This is the card you will use to recharge this card.
For some reason, even if your card is registered in your Apple account you have to do this step. There doesn’t seem to be a way to just link it to an existing card.
You’ll then need to add a few security details and agree to some Apple Pay terms and conditions. Depending on your card provider, you might need to get a text message or email at this point, so, you might want to do this somewhere you have email/text access.
Because I had an e-sim, I could get my messages anywhere so I did it in the queue at customs!
Once it’s correctly installed, you’ll see it stacked up with your cards like this.

Step Five. Add Cash
You’ll now go to the next screen which is where you add money – you get the option to add 1000, 2000, or 5000 yen
If you’re setting the card up before you leave home, at this point things may fail. You can’t always load money onto the card until you get to Japan. I tried it at home, it kept saying ‘Payment not completed’.
As soon as I did the same process in the queue at customs, I could add money.
Once you’ve added it and payment goes through, that’s it you’re all set – the trains beckon!
If you haven’t yet decided how you’re going to get online in Japan, have a look at our guide to which method (eSIM, SIM, Pocket Wi-Fi, or roaming) is right for you. Find the guide here.
How to Add Money to a Digital Suica
Go into your wallet and tap on the card you want to use.
You’ll then see a black button that says Add Money.
Just press it, decide how much to add, and click the side button to charge the card as directed.
Note. You can only fill a Suica card during the hours the trains run. Overnight the system shuts for maintenance, so, if this doesn’t work in the middle of the night, that’s why!
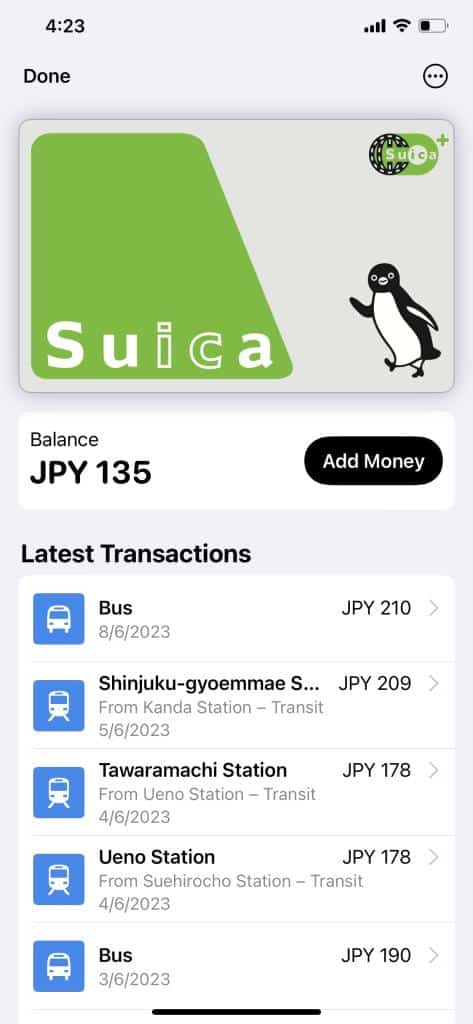
You can also check your existing balance and how much you’ve spent as all your transactions are listed too.
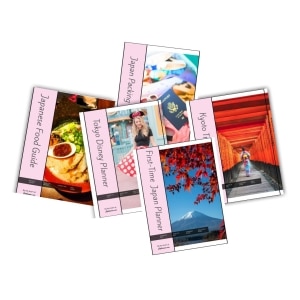
Need Extra Planning Help?
Our Japan trip planners can help. You might like our First-Timers Japan Planner, which will help you plan your trip to Tokyo, Kyoto and Osaka step-by-step, including tips on everything from picking hotels to sightseeing and dining. Or our super-duper Tokyo Disney Planner makes arranging your park trip MUCH easier. Find them in our Planners store – printable and digital versions are available.
What Happens if You Get an Error?
‘The phone Suica isn’t working – it won’t accept any payment methods’ – was the plaintive message I got from my friend during her last Japan trip. The card they had set up had decided to stop taking any credit card payments. Apparently, this is a thing!
It can be caused by a random system glitch, poor wifi, using a free wifi network instead of the one on your phone or, because you’re trying to top things up while the train system is down as you can’t add to an IC Card when the trains aren’t running.

Sometimes time will fix the problem, sometimes using a different credit card will sort it out, or trying from a different place – other times it’s just stuffed!
If that happens, you can fill the card up with cash at the station. You need to find a machine with a holder like the one above and put the phone in it – you then use cash to top it up. It’s not ideal, but, it does work.
How to Get Through the Barriers
Yes, I know those of you who use your phone for everything will be laughing at this now, but, one reason I don’t use my phone to get on transport is, that I’m never quite sure what I’m doing and I don’t want to hold everyone up as I block the barrier … and, I’m sure I’m not alone here.

The simple answer is, if it’s set up correctly you just point your phone at the IC Card area on the ticket barrier, just above the physical ticket slot in the picture below, and it registers.
To do this though, your phone needs to be set up in something called Express Mode.
How to Set Up Express Mode
You can set this to the Suica card in your phone settings. Go into Wallet and Apple Pay in Settings, and make sure that where it says Transit Cards, Suica is selected.
Also, to avoid things getting confusing and other cards switching on, you might want to swap your Default Card to Suica as well – it’s just down from the option you just selected.
See both of these options here

Even though mine is on, I’m not sure if it worked as I still double-clicked the side button (which switches on card pay) and used Face ID to get it to work as that’s what I’m used to doing.
This did cause problems during rush hour as I was wearing a face mask when trains were very busy and kept forgetting this little fact.
Remove your mask if you’re as techno-hopeless as I am!
Using Suica on an Apple Watch
Because Mr Japlanease is a huge tech head, just having the Suica on his phone wasn’t enough for him – he wanted to use his Apple Watch to tap in and out, and, with a bit of research, he worked out how to make that happen.
Go through all the steps above on your phone, then go to the Watch App on your phone and find Wallet and Apple Pay.

Scroll down to the Suica card picture and click add.
Note. Once you add the Suica to your watch, it won’t work on your phone anymore.
You’ll tap in and out with your watch, and also fill it up on your watch.
So that’s the basics on how to use a Suica on your iPhone or Apple Watch, but, here are a few extra questions you might be wondering about…
If our articles or Facebook advice have helped make planning your trip easier, you can Buy Me Coffee (or, more likely, some ramen, a Sapporo or an egg sandwich) by making a small donation at our Buy Me a Coffee page.
More Digital Suica FAQs
What About Children?
It’s better to pick up physical cards for smaller children as each person has to have their own card – and kids aged 6-11 travel for 50 percent off with a kid’s Suica. You don’t get that discount with a digital card.
For older children, if they have their own phones, you can load cards directly onto them and link your card to update them.
Do remember though that they can also spend in shops on Suica cards so, you might want to just watch quite how much is going off your card!
Is There a Transaction Fee?
Because you’re using a foreign credit card you will get charged a transaction fee each time you top up if your card charges these.
Check with your bank as to how much this might be.

What if I Don’t Have the Internet?
I couldn’t get around Japan without some kind of Google map connection, so I always have internet, but, if you’re not as wedded to maps as I am and don’t have any kind of portable internet connection, the good news is you don’t need wifi to get through the barriers with a Digital Suica if Express Mode is on.
You do need an internet connection to top it up though. Again, if you haven’t decided how you’re going to get online yet, then head to our post on the different methods to get online in Japan.
What If My Battery Runs Out?
If you have enabled Express Mode, apparently you can still use a digital card. Just tap your phone to the reader as normal and it’ll deduct the money. It works for a few hours after your battery dies.
I Want a Pasmo/ICOCA?
That’s fine – the process is pretty much identical, you just choose Pasmo or ICOCA instead of Suica.
But, just in case there is a difference I haven’t spotted, here’s the official guide from Pasmo as to how to load it onto your phone and watch.
I can’t find one for ICOCA, but I loaded one onto my phone while writing this and the process was exactly the same as the above.
How Much Should You Add?
I can’t really answer that as I have no idea how much you’re going to spend on your trip, but, at first, at least cover your journey into town.
From Haneda it costs between 530 and 720 yen (depending on which route you take) to get to Asakusa, and roughly the same to get to Shinjuku – so, I’d definitely start with at least 1000 yen.
Don’t go completely over the top though, as, it’s very complicated to refund cash from a digital Suica so you don’t want thousands of yen left on it if you decide you don’t like using your phone to travel or pay for things, or go overboard with a fill-up.
Add Less Later in Your Trip
It’s best to reduce the amount you add to it the closer to the end of your trip you get.
Remember, you can always buy paper tickets on the metro and trains, so you don’t have to use Suica if it means adding cash you won’t use to the card.
Also, you don’t have to use the amounts they specify, you can just type in any amount – so, if you only need 87 yen for your journey back to the airport, just add 87 yen!
You Can Also Use Suica in Shops
Lastly, note you can use Suica to pay for things in many shops, bars, and restaurants in Japan – even those that don’t take other foreign cards so it is a great compromise if you don’t like carrying cash.
If you haven’t read our guide on whether you need cash in Japan these days, have a look as it explains this more thoroughly.
If you have any further questions there’s an official guide from Apple here as to how to link Suica with their products and use them most effectively. That might sound like a cop-out, but if it’s anything more techy than the above I won’t have a clue! It took me long enough to work this out!

Who Writes This Blog?
My name is Helen Foster, and I’m a journalist and author. My travel articles have appeared in publications including The Australian, Escape, RAC Horizons, Jetstar Magazine, Sainsbury’s Magazine, and more.
I’ve traveled to Japan eight times before – solo and with my partner and visited over 25 towns and cities. My last visit was November 2024 so, everything here is pretty up to date.

