- How to Watch the Oiran Parade at Edo Wonderland, Nikko - 15 October 2026
- 8 Mistakes Not to Make in Autumn Leaf Season in Japan - 10 October 2026
- How to Spend One Day in Nara - 29 September 2026
The Visit Japan Web arrival documentation for Japan registers your arrival into the country. But, it can confuse people a little bit, so here’s my guide to what to expect when filling it in – and a few places where people commonly get confused.

This is an AI-Generated image
Article by Helen Foster. Disclosure: Some links in this post are affiliate links. See our Affiliate Disclosure.
What Is Visit Japan Web?
It’s an electronic version of the paper immigration and customs forms that you must fill in when entering Japan. Once completed, you will get a QR code that you can show at the border with your information already provided to the authorities.
This speeds things up a little bit at immigration as it means they don’t need to type things in – but I admit, it won’t save you personally more than a few minutes.
I have heard recently, though, that QR queue for customs is faster than the paper one.
It’s not currently compulsory to fill it in in advance, but I prefer to do so for a couple of reasons.

The first is that not all airlines hand out the paper forms anymore. This means you have to find them and fill them out when you land, either in the queue or off to one side, while the queue grows ever longer next to you.
The second is that one of the questions may require you to look something up, and that can be easier if you aren’t balancing the form on your leg in a queue.
At some point, Japan will change the entry procedure and will require advance registration via a system called JESTA, but this isn’t planned to be fully introduced until 2028 or 2029.
When Can You Complete It?
Any time from when you book your flight to six hours before your departure. But, saying that, I have also seen people filling it in in the immigration queue.
I usually do mine about 7-10 days before my departure.
If you do it too early, you might need to change things like your hotel information, so it’s better to do it once things are nearer.
Before You Start
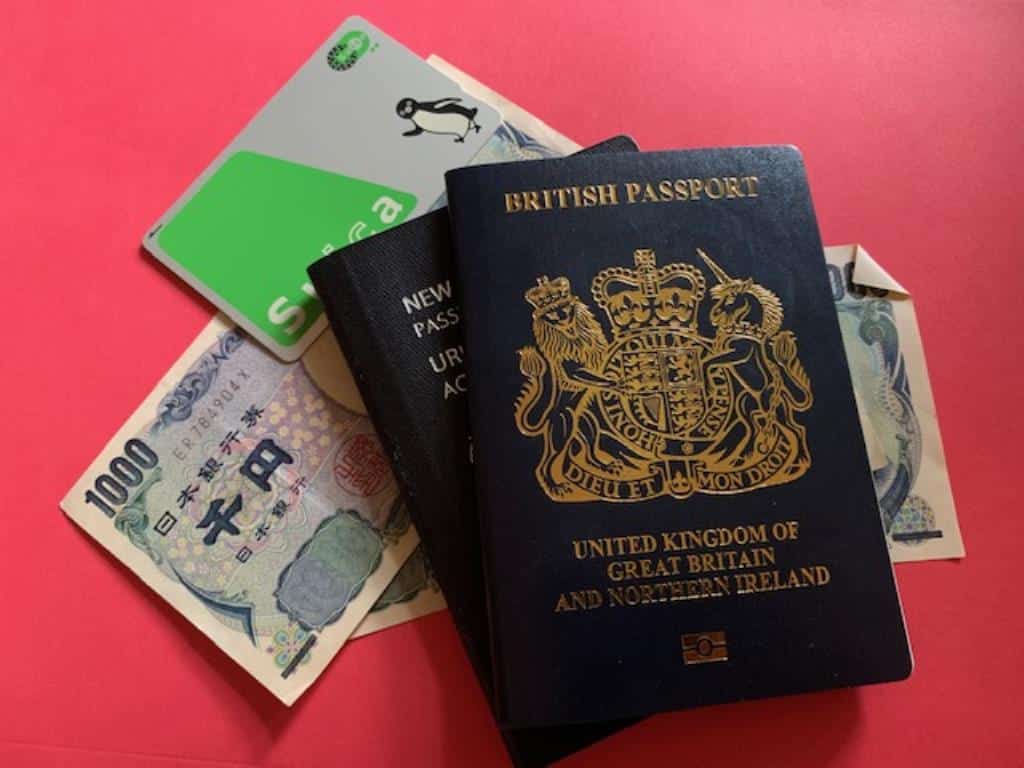
You need your passport, and those of others travelling with you, your airline ticket and your hotel address and phone number. A pen will also be handy.
You’ll also need access to your email.
You can complete the form on your phone, tablet or a desktop/laptop.
The web address you need to use is https://www.vjw.digital.go.jp/ .
It is free to register on the site.
Now follow these steps…
1. Creating an Account
The first step, if you have never used Visit Japan Web before, is to create an account. To do this, push the white ‘Create an Account’ button and set up an account with your email and password.
They will send a verification email to your email, so make sure you can access it.
If you are travelling as a family, one person can set up an account and then register the other family members. But it can be easier for couples for each to set up their own code, and I’ll explain why below.
This part is pretty straightforward, BUT – make sure you save and/or note down your username and password somewhere you will be able to access them on the move, as you may need to log in to the account when you land to get your QR codes.
2. Registering Your Details
The first section covers basic personal information – you will be asked
If you have a Japanese passport
If you live in Japan
If you want to register for tax-free shopping
You will then enter your passport details via scanning or manually

Common Issues
Most of this section is pretty simple, but scanning your passport for the Tax-Free shopping section can be a headache. It regularly doesn’t work.
If you get stuck, go back to the question asking about Tax Free Shopping and tick no – you don’t have to register on Visit Japan Web to use Tax Free Shopping, you can do it in store. This will then give you the chance to fill in your passport information manually.
If you already know you don’t want to use Tax Free shopping, just tick no, and you will be prompted to enter your passport information manually.
3. Registering Other Family Members
If you are travelling with other family members, now click the button that says ‘Details of Other Travelling Family Members.’
You will then fill in the same details for them as you did for yourself.
If you’re travelling solo or the other members of your party are doing their own registrations, just go to the next section.
Common Issues
Okay, I’m just going to explain briefly why it might be easier for couples to set up individual profiles. Basically, if you do it all together, one person will have the details on their phone – but, if you’re travelling as a couple, you’ll go through immigration one by one, which means a bit of faffing around passing phones back and forth.
If you do set up two adults on the same account, make sure the other person has access to the login or a screenshot of their own code.
If you’re travelling with kids, it’s fine to add them as a family as you’ll all go through together.
4. Registering Your Trip
This is the part where you save the details of your entry and hotels on this particular trip.
If you have been issued a visa to visit Japan, then click ‘copy from visa application’
However, most people travelling for tourism purposes and using a passport from the USA, UK, Europe, Australia and New Zealand don’t currently need a visa.
Do always check current rules, though, as things can change.
If you don’t need a Visa, select the option that reads Proceed to Registration Without Copying Details.

Now you will be asked…
To name your trip – something like Japan 2026 or Japan 2027 is fine. It’s only really important to be more specific if you travel regularly to Japan, as all your trips are saved on the site.
Enter flight details – airline, flight number and your point of embarkation
Enter your hotel address
If you are travelling with other people, you can just click the box for ‘family members travelling with you’, and it will fill in the same information for them.
Common Issues
Point of Embarkation: If you are on a flight with a stopover, you might be a bit confused as to your point of embarkation. It’s the one immediately before you get on the flight – so, if you fly Sydney to Tokyo via Singapore, you’d put Singapore.
Multiple Hotels: If you are moving around Japan, you don’t need to list every hotel. Just give the name and address of the first one you are staying at.
Understanding Hotel Addresses: This is the reason why I fill my form in advance, as Japanese hotel addresses are a bit tricky if you aren’t used to them.
My top trick at this point is to call up Google Maps and find the hotel. The address will look like the one in the picture below, which is for the Hotel Gracery in Shinjuku.
The most important part of this for Visit Japan Web is the postal code. This is the string of seven numbers with a hyphen in the middle, so in this example, it’s 160-8466.
If the address is written in Japanese, rather than English, this might be first, not last.

Once you enter this, you can fill in the address automatically by pushing the button that says ‘enter automatically using postal code.’
You then just fill in the hotel name and phone number in the next two boxes.
This is the other benefit of doing this at home using Google Maps – phone numbers are clearly listed. They can sometimes be a bit hidden on hotel confirmations.
Reading a Japanese Address
If the auto-complete option doesn’t work, though, here’s how to find the answers to the other questions you are asked.
Prefecture: This is the first word if the address is in Japanese, the last if it’s in English. If you’re staying in Tokyo, it will be Tokyo.
City: This is the confusing part, as you probably think the answer is Tokyo, but Tokyo is broken up into mini cities, and it’s one of these you need to list. So, in the example above, the answer is Shinjuku City.
Street Location: Japanese addresses don’t have street names – they use numbers and a district name. So, look for the other set of numbers – in the example above, it’s 1 Chome-19-1 Kabukicho.
5. Keep Going…
This is the page where people can make a big mistake.
At this point, if everything is completed okay, you should see a box appear with a blue tick and two options underneath it.
Back to Home or Return to Entry/Return Procedure

This is where many people go wrong, as they think they are finished and so they choose to go ‘Back to Home’.
Don’t do this. You aren’t finished, and you won’t get your QR code if you do this.
Instead, click To entry/return procedure. At this point, you will see a page that looks like this…

6. Register for Quarantine
This is a health check. I think it’s a throwback to when the system launched during the pandemic. Today, it’s a bit irrelevant if you’re filling it in more than the day before you arrive, but I fill it in anyway, as it doesn’t say ‘optional.’
7. Fill in Immigration Clearance and Customs Declaration
This is the one you need to fill in to get your QR code issued.
The next two pages just repeat the information you have already registered.
After this, you will be asked a series of questions including…
Why are you travelling to Japan (tourism, business, visiting relatives, etc.) and how long are you staying?
There is then a series of questions that you need to read carefully about criminal convictions and other immigration concerns.
And about bringing some controlled or prohibited items into Japan. Answer these honestly.

Common Issues
This is the section that worries people most, which is fair enough as it’s serious stuff. Here are some of the questions that get asked in my Facebook group.
Criminal Convictions: If you do have criminal convictions, please check with the Japanese embassy in your area about travelling to Japan well in advance.
Medications: Japan has very strict rules on importing medications; some need permission, and a couple are outright banned. Please check your meds in advance via this website to check they aren’t on the controlled list. If they are, follow the steps to get the right permissions. You may also need a permit if you are staying more than a month and bringing in larger quantities of certain medications.
However, one thing that confuses people is whether they must declare all medications. You don’t.
This is the exact wording of the question. As you can see, it only asks about the medicines they are concerned with – narcotics, stimulants, etc. If your medications are not on the controlled list, you can tick no to this question. If you are carrying drugs that are on the list, tick yes – they will likely ask to see them and your paperwork.

A question that comes up in my Japan group is whether you should declare psychotropics (or other drugs) under the dosages that need permission. I’m not a lawyer so, I can’t answer that one legally, but personally, with the wording of the question as it stands, I would declare them and have them ready to show.
Counterfeit Items: Just a heads up for those carrying imitation designer items – technically, these are illegal in Japan, and they can confiscate them if they realise they are fake.
Products of Gold: People worry about wedding rings and personal jewellery with this question. The authorities are mostly worried about gold that people might sell. Again, I am not a lawyer or immigration agent. The safest advice if you’re worried is to declare. People who have declared their rings report being waved on with a smile.
8. Checking Things Over
Once you’ve worked through all those questions, you will get to a final box that says Register. Click this
At this point, the button underneath the three boxes saying ‘Display QR Code’ should turn blue.

If it does, everything has registered correctly.
Click it and then screenshot the codes just in case you lose signal at the airport – everyone you registered should have one and ideally, each adult should carry their own screenshot in case you get separated going through the lines.
I only ever register myself, so I haven’t had to find these, but apparently, there is a dropdown menu that allows you to access each individual code.
I also print mine out so I have a copy handy – I am Gen X, I do not trust technology not to fail when I need it most!
If that box does not turn blue, you have missed something. Go through the steps again. It’s usually the customs and immigration section.
Need Extra Planning Help?
Our Japan trip planners can help. You might like our First-Timers Japan Planner, which will help you plan your trip to Tokyo, Kyoto and Osaka step-by-step, including tips on everything from picking hotels to sightseeing and dining. Or our super-duper Tokyo Disney Planner makes arranging your park trip MUCH easier. Find them in our Planners store – printable and digital versions are available.
Making Changes
I was all smug yesterday when I was writing the first draft of this. I filled in my form as I was writing the piece so I could photograph all the steps and check everything.
I’m leaving in just over a week, so I thought it was all set.
Then, in the afternoon, I decided I didn’t want to stay at the hotel I’d booked for my first night. It was a capsule hotel at the airport, and I was just worried I might not get enough sleep with people coming and going all night. So, I booked a new hotel.
Which means I had to change my hotel details on my Visit Japan Web entry.
The good news is, it’s very easy to do. Just go in, click on the plan you want to change and then choose Edit.
At the Airport
You’ve flown to Japan, you’re on the ground – now what?
Call up the QR screenshots, and/or log back into your account to call up the original codes and have these ready to hand to the immigration agent with your passport.
Technically, they should just accept the screenshot, but I have heard about some officials asking for the originals
Remember, you will need your email address and your password to get back into your account, so make sure you know what they are.
The airport does have free wifi, but it can be a bit slow. If you have an eSIM, enable this to connect as you land, and you’ll be good to go.

This is an AI-Generated image
When you get to immigration, you show them the QR code and complete the rest of the formalities.
Assuming nothing has changed since my last trip, when you go through immigration and get to baggage claim, find one of the terminals and scan your QR code to get customs clearance.
Then, once your bags have arrived, head through Customs.
Use the ‘Nothing to Declare’ lane if you ticked ‘no’ to all the customs questions. Go through ‘Declare’, if you have anything like medications to show them.
Once you’re through, head to the Exit. Welcome to Japan. Let your holiday begin.

Who Writes This Blog?
My name is Helen Foster, and I’m a journalist and author. My travel articles have appeared in publications including The Australian, Escape, RAC Horizons, Jetstar Magazine, Sainsbury’s Magazine, and more.
I’ve travelled to Japan nine times before – solo and with my partner and visited over 50 towns and cities. My last visit was in April 2026, so everything here is pretty up to date.