- What to Do in Kawaguchiko – When You Can’t See Mount Fuji - 21 October 2026
- Kennin-ji: Kyoto’s Temple for Art Lovers - 19 October 2026
- How to Watch the Oiran Parade at Edo Wonderland, Nikko - 15 October 2026
Do you want to make your very own pair of chopsticks to take home from Japan? Well, it’s never been easier. Chopstick-making classes are now available in many spots in Tokyo, Kyoto and more; here’s what happened when I tried one.
I have ten fingers. I’m aware that this is the traditional number, but it’s reassuring that I still have all of mine after somebody let me loose with woodworking tools; after all, I once chopped a chunk off the side of my finger during my work experience on a magazine when I got let loose with a scalpel.
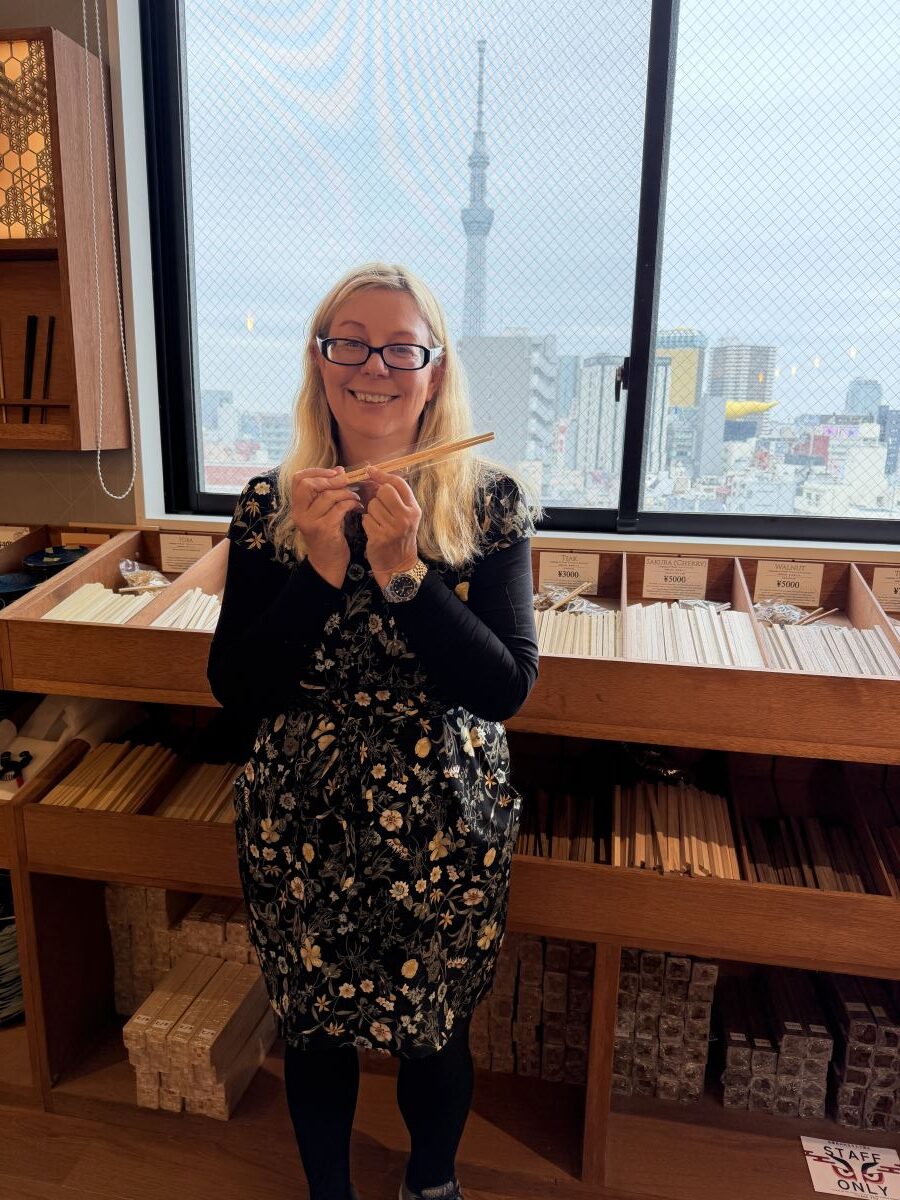
Article by Helen Foster. Disclosure: Some links in this post are affiliate links. See our Affiliate Disclosure.
Thankfully, all the tools at the chopstick-making class at Zen Craft Studio in Asakusa, where I tried making my chopsticks, seem to be idiot-proof, so with my big concern for the day out of the way, let me explain how it all works.
Choosing Your Chopsticks
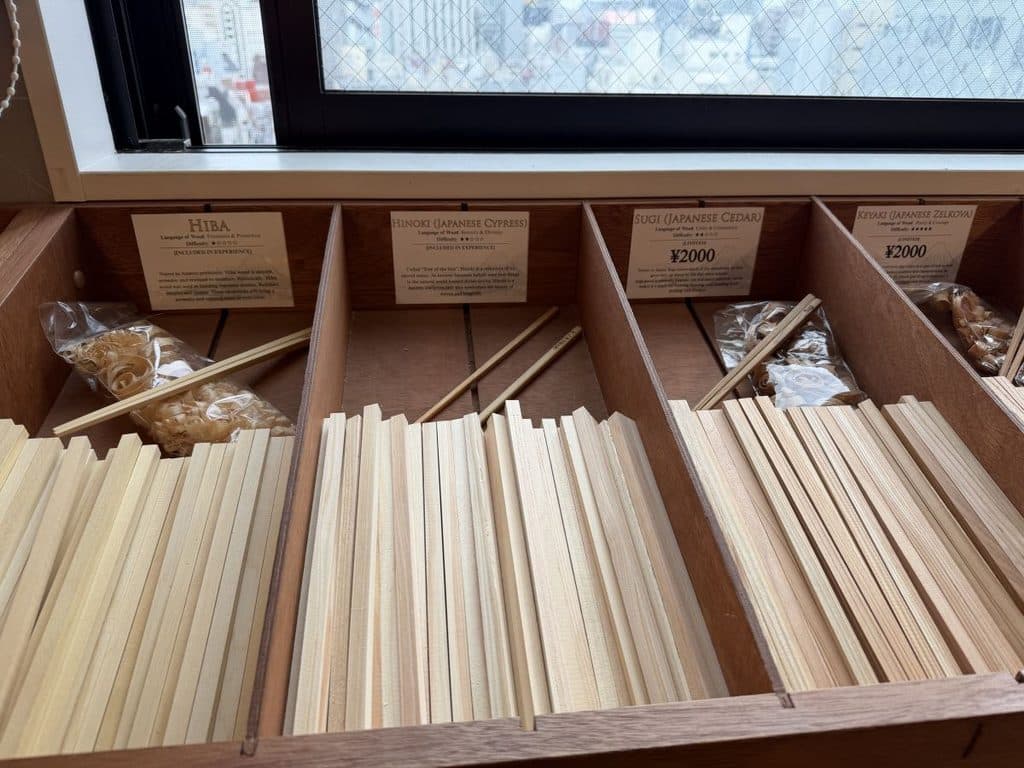
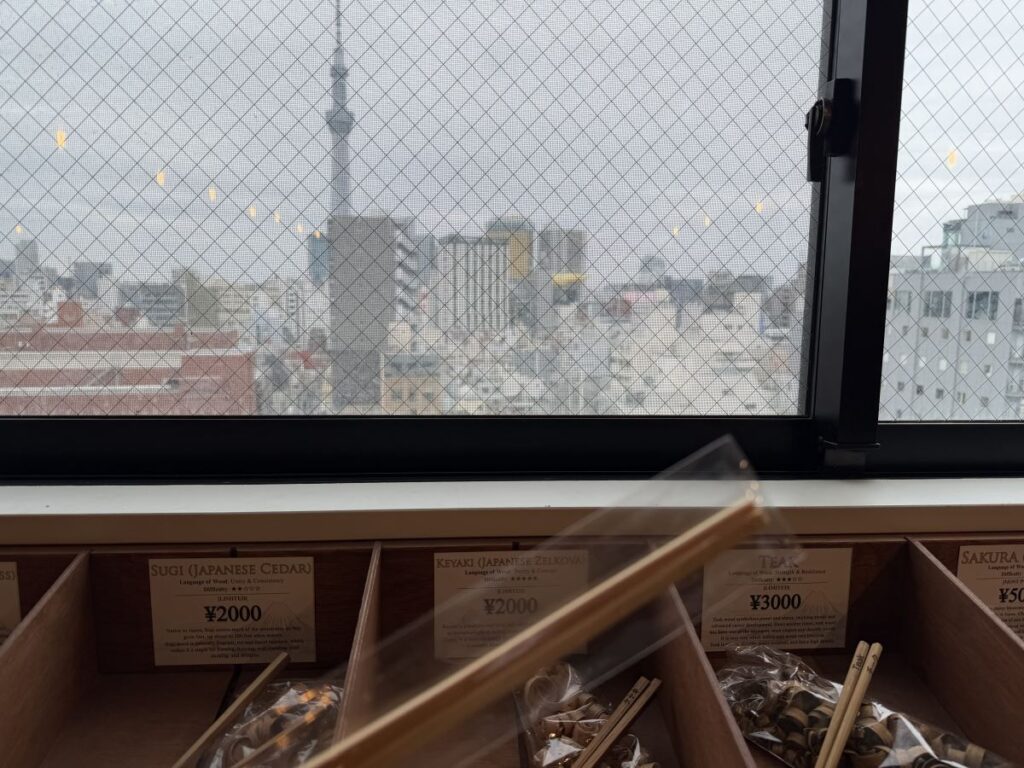
When you book your session at Zen Craft Studio, you’re given sticks of either Hiba or Hinoki wood to work on as part of the package.
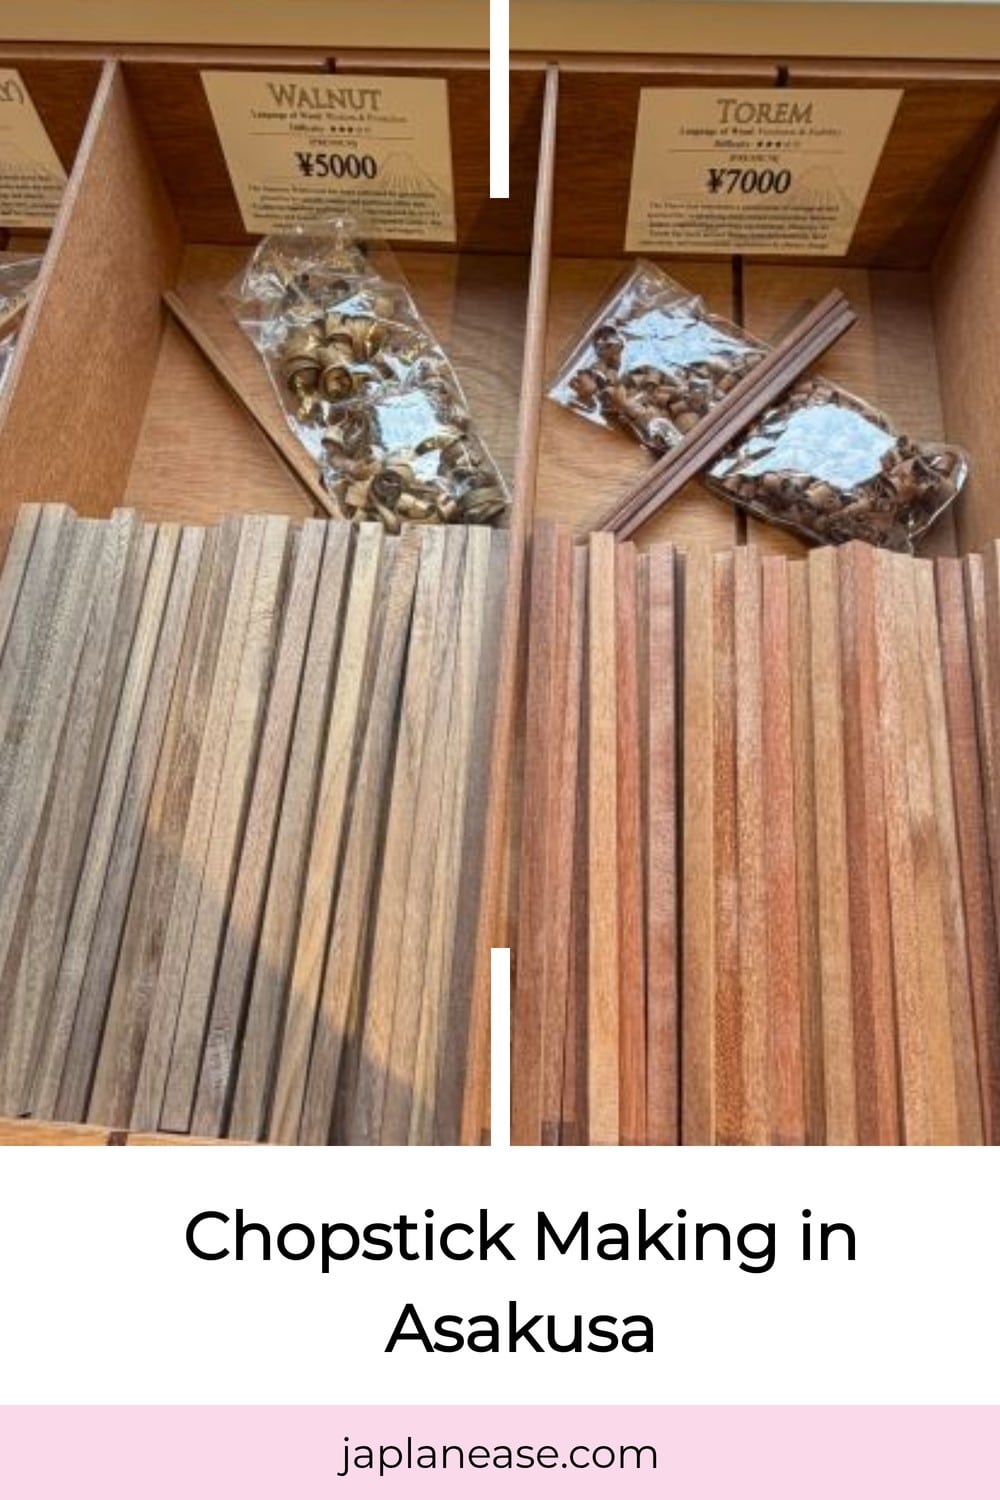
These create a basic pair of pale wood chopsticks, but if you want something richer, more elegant or expensive-looking, then you have the chance to upgrade to nicer woods like teak, sakura, walnut or rosewood.
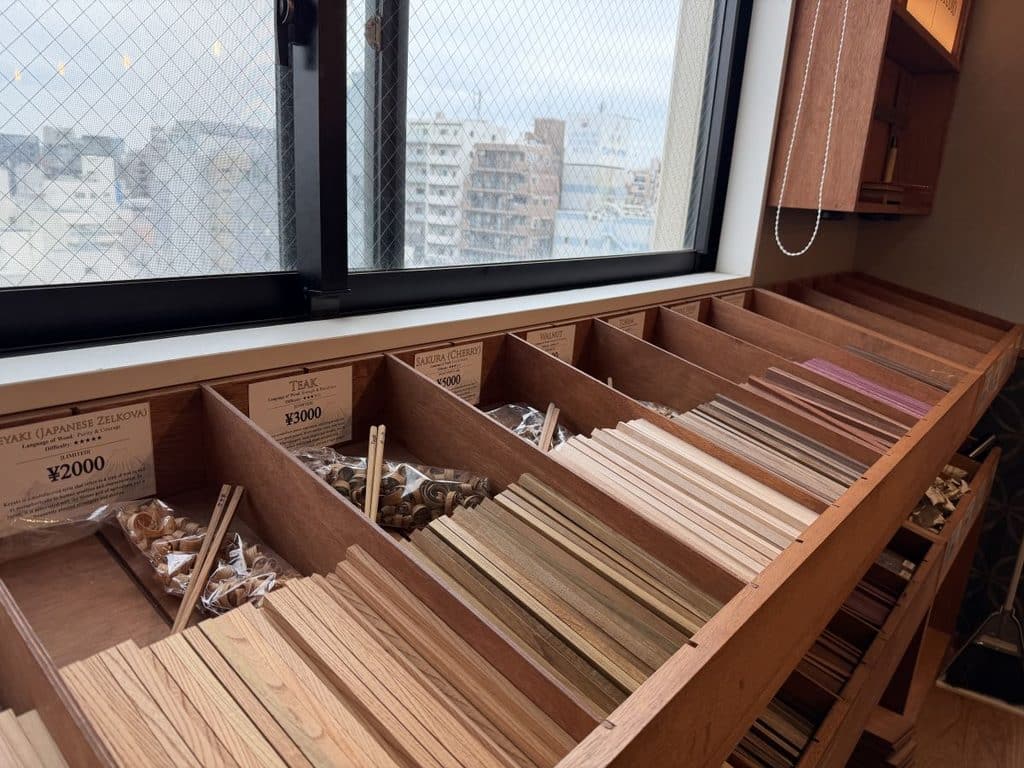
The prices of these range from an extra 2000 yen for a wood like Japanese Zelkova to 10,000 yen for rosewood and Purple Heart.
Each of the woods has a difficulty rating – the fewer the stars, the easier it is to work with- but there’s also an information panel that explains a bit about how the wood is traditionally used and what it means to the Japanese people. For example, teak stands for strength and resilience, while sakura represents the idea that every moment in life is transient and special.
At first, my teacher was trying a bit of a hard sell to get me to buy something a bit more elegant, but since I wasn’t sure what on earth my result would look like, I stuck to my guns and used the included Hinoki.
This is described as a level 2 in difficulty and as representing Serenity and Divinity. An evergreen tree, it also symbolises longevity and natural beauty.
As it turned out, the process is actually very easy, so if you would prefer to create something a bit more classy-looking, you’ll be unlikely to spoil the wood if you follow the instructions.
Time to Use the Kana
The kana is the traditional Japanese plane that you use to turn your chopsticks from long square pieces of wood to something with tapered ends that you can pick things up with.
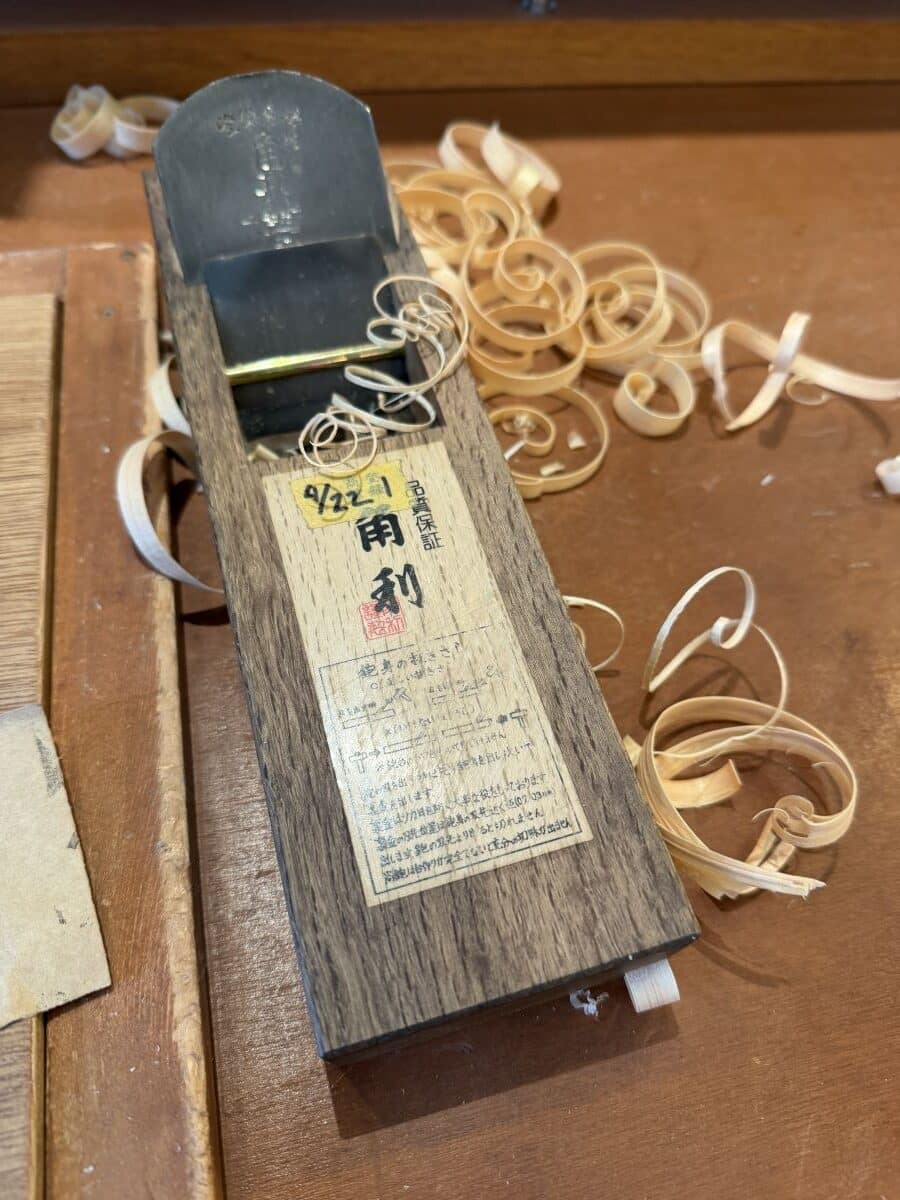
The good news is, you don’t have to judge how much pressure you need to achieve this. Instead, you place the stick in the holder (below) that positions it perfectly for you to shave away exactly the right amount of wood. You turn it a few times and, when no more shavings appear, move it to the next slot and repeat.
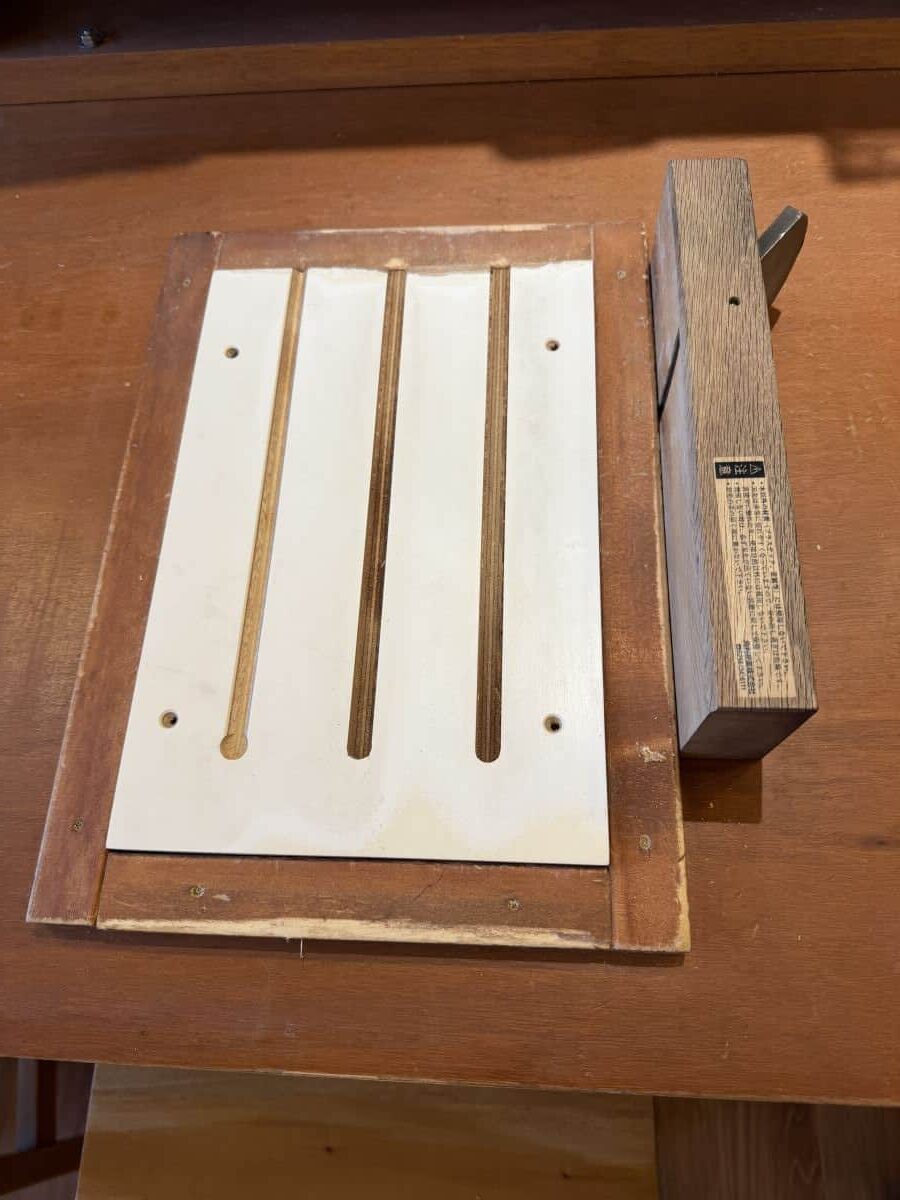
The kana does need a little bit of force to break through the wood on the first pass, but once that’s done, it easily and smoothly shaves away the wood.
It took me about ten minutes to go from holding a pair of sticks to holding something that looked like chopsticks.
Sanding and Oiling
The planing leaves some rough spots, so your next job is to remove these with sandpaper. Again, this is super easy and took just under 10 minutes to get to a point where my teacher was happy that I wasn’t going to find any splinters when I got home.
Finally, you oil the chopsticks to give them a shinier finish and seal the wood.
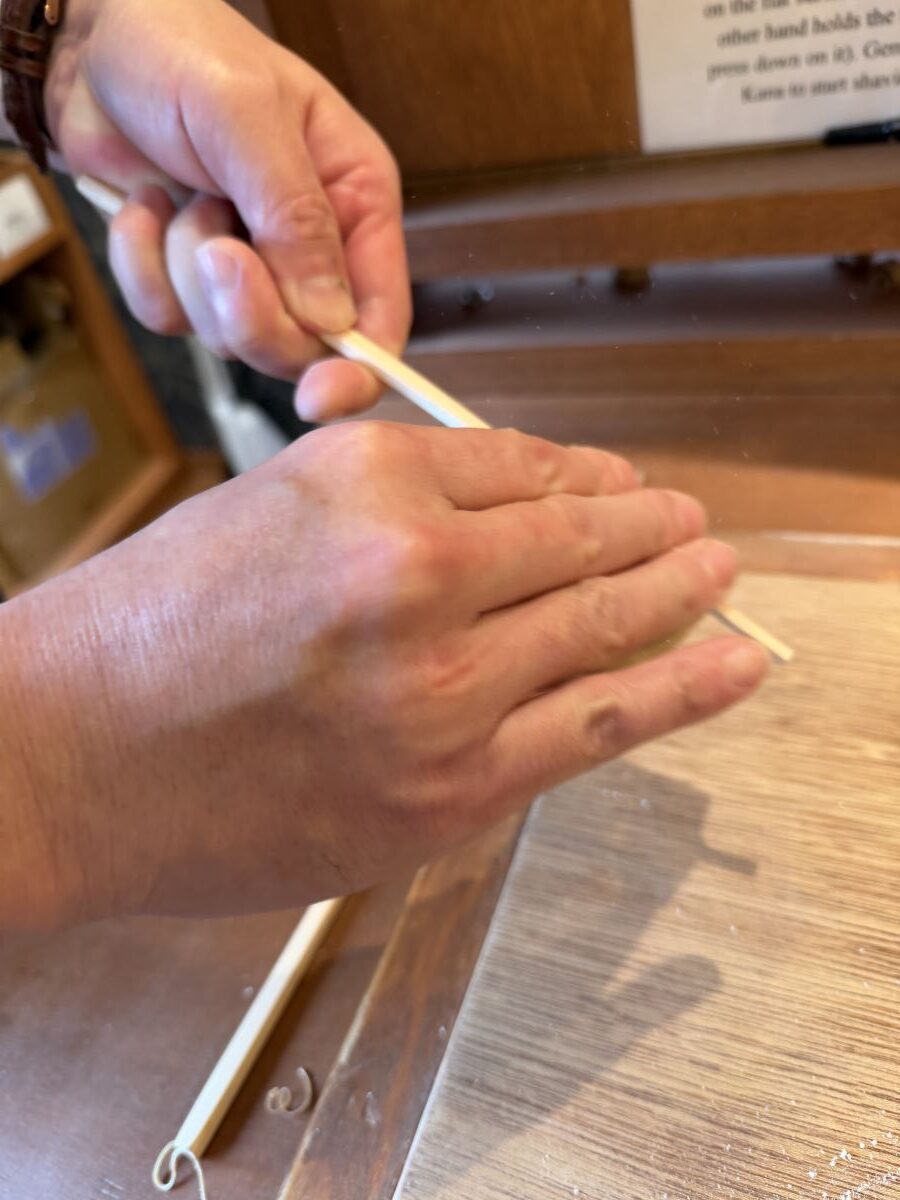
I walked into the studio at 10 am, and by 10.35 am I was holding my own crafted dining accessory. And carrying a huge sense of satisfaction that I actually made a thing!
They do warn you not to use them for a couple of days to make sure the oil is fully dried.
The Optional Step
You can also have your name engraved into the chopsticks.
I didn’t choose to do this as I wasn’t sure if I was going to bring mine home with me; you have to declare all wood in Australia, and I wasn’t sure how they’d treat these.
Turns out I did bring them back, and they just waved me through when I told them what I had.
I think if I’d upgraded to a nicer wood and knew for certain that I could bring them home, this would be a nice extra touch.

My Verdict
I actually really enjoyed it, and was surprised by how simple it was. Of the three craft activities I did on this trip – remaking a kimono and mending broken dishes using gold paint in kintsugi class – this was by far the easiest.
I also really liked reading about the different woods and what they meant.
The only thing I think could have improved the experience would have been adding to this side of things by having the teacher give some background about the process and the history of chopstick making while you work. That would help give it a bit It felt a bit lacking in context and tradition and more focused on producing the end product.
If you want to give it a try, you can book the class here.
Got Questions?
No problem, Let’s answer them…
How Much Does It Cost?
The class with basic wood cost me less than US$7.00 when I booked it. If you choose to upgrade the wood, this starts at 2000 yen per pair of chopsticks.
Can Kids Do This?
Yes, absolutely. Zen Craft Studio say there is no minimum age – although it’s probably not ideal for toddlers.
There were a couple of families in the studio when I was there, and the kids seemed to be having a great time.
The kana is sharp, but the blade is protected, so it should be safe for little fingers. They might need a little help with the force needed for the first pass, so maybe steer them towards the softer woods when you choose your sticks, but after that the kana is light enough to move on its own.
Is It Accessible?
Yes. There is a lift up to the studio and the floor inside is flat. When I did my kintsugi class in the same studio, there was a lady there in a motorised wheelchair.
If you have grip problems from issues like arthritis, for example, the first pass with the kana might be a bit tricky, but the staff are always around to help you, so if you do find something difficult, they can briefly step in.
Again, choosing the right wood will help here. All the upgrade options have descriptions of the wood and how hard they are to work with, so you can make things easy from the start.
Do the Staff Speak English?
Yes. I did two different classes at Zen Craft Studio and spoke to a few people each time, and everyone spoke excellent English.
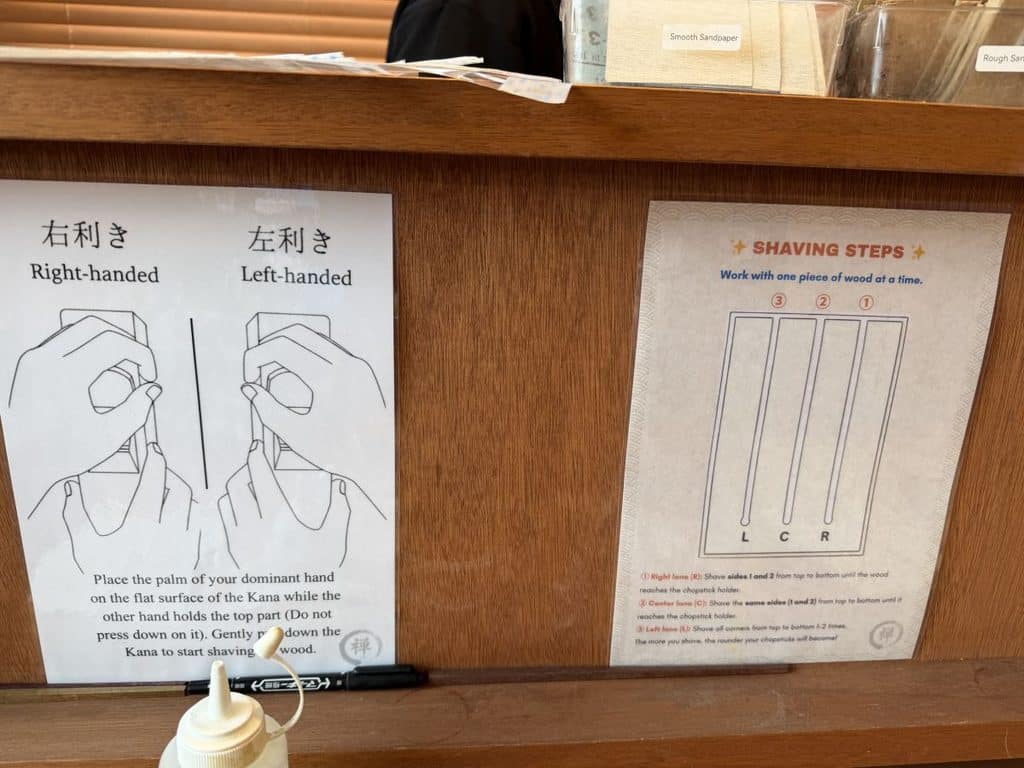
They also had clear English instructions for each of the steps posted around the work area. I particularly loved that they included left-handed people in this.
How Long Does it Take?
The class is scheduled to last an hour, but it only took me 35 minutes to walk out with my chopsticks. If you were a bit more precise than me, working with a harder wood or choosing engraving, though, it will take a little longer.
Are You Going to Feel Like an Idiot?
As someone who is not naturally craft-inclined, and with zero artistic or practical ability, one reason I have shied away from this sort of class in the past was fear of being judged as hopeless by others – but this doesn’t feel like a traditional class.
You have your own space on the bench, and everyone starts work at different times – it’s not a case of, ” It’s 10 a.m. Class begins!” and you can also work at your own speed.
I didn’t feel like anyone else in the room knew or cared what I was doing, except the teacher. And they weren’t judging – they just wanted you to get the best result possible and would step in and help if you were getting stuck.
Can People Do Different Classes at the Same Time?
Zen Craft Studio doesn’t just offer chopstick making – you can also book in for kintsugi and knife making.
If you’re a larger family, you might have two people who want to make chopsticks and two who want to repair broken plates, and that’s totally possible.
You won’t be at the same table, as each activity has its own area in the room, but if you book your classes to start at the same time, you can arrive together – the only difference will be how long it takes you to create the finished item. Chopstick making is much faster than kintsugi or knife making.
Can You Book in Solo?
Yes. I did.

Where is the Studio?
It’s located in Asakusa, close to the Rox building.
You could book the 9 am session and visit Senso-ji before this to see it before the crowds build up. At 10 am you can come out to explore the Asakusa backstreets until lunch and feel like you’ve had a brilliant day.
Classes start at 9 am and run hourly. The last session is at 6 pm, making it easy to fit around sightseeing in the area.
How to Book The Class
I booked it via Klook. On there, it’s called Tokyo: Asakusa Chopsticks Workshop.
If Asakusa doesn’t work with your plans, you’ll also find chopstick-making classes in Shinjuku and Shibuya and other locations in Tokyo – and in Kyoto and Osaka.
Who Writes This Blog?
My name is Helen Foster, and I’m a journalist and author. My travel articles have appeared in publications including The Australian, Escape, RAC Horizons, Jetstar Magazine, Sainsbury’s Magazine, and more.
I’ve travelled to Japan nine times before – solo and with my partner and visited over 50 towns and cities. My last visit was in April 2026, so everything here is pretty up to date.